This is the second part of our fireplace wall build. To see how I built the mantle frame see our article here: https://fireplacegenius.com/fireplace-information/step-by-step-directions-and-photos-on-building-a-mantle-with-a-wall-insert-for-an-electric-fireplace/
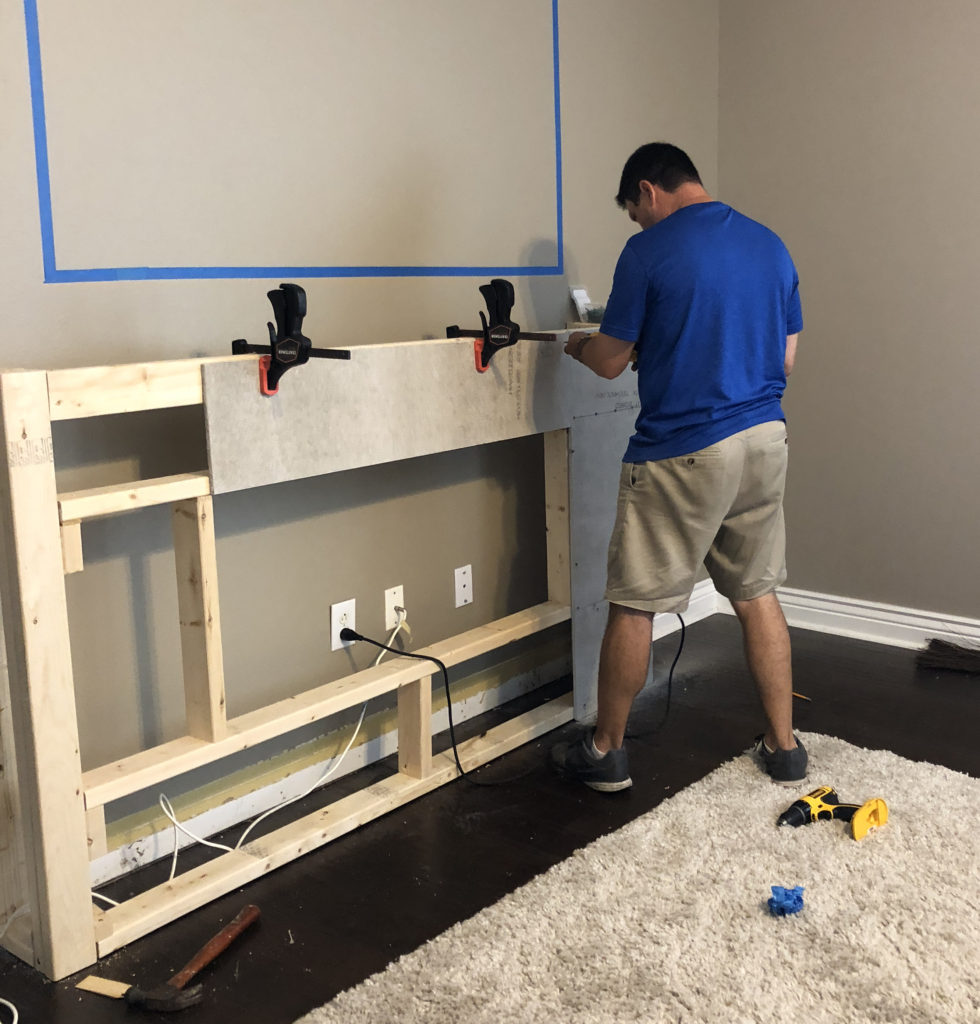
Once your wall frame is complete the next step is to start cutting and installing the backer board. I used a wet tile backer board that you can get at any home store so that I could tile the surround. I carefully cut each piece to match the opening on the surround and then screwed them into place. I planned on using straight trim pieces on the sides so I only put the backer board on the front. If you want to tile around the sides of your mantle you can go all the way around.
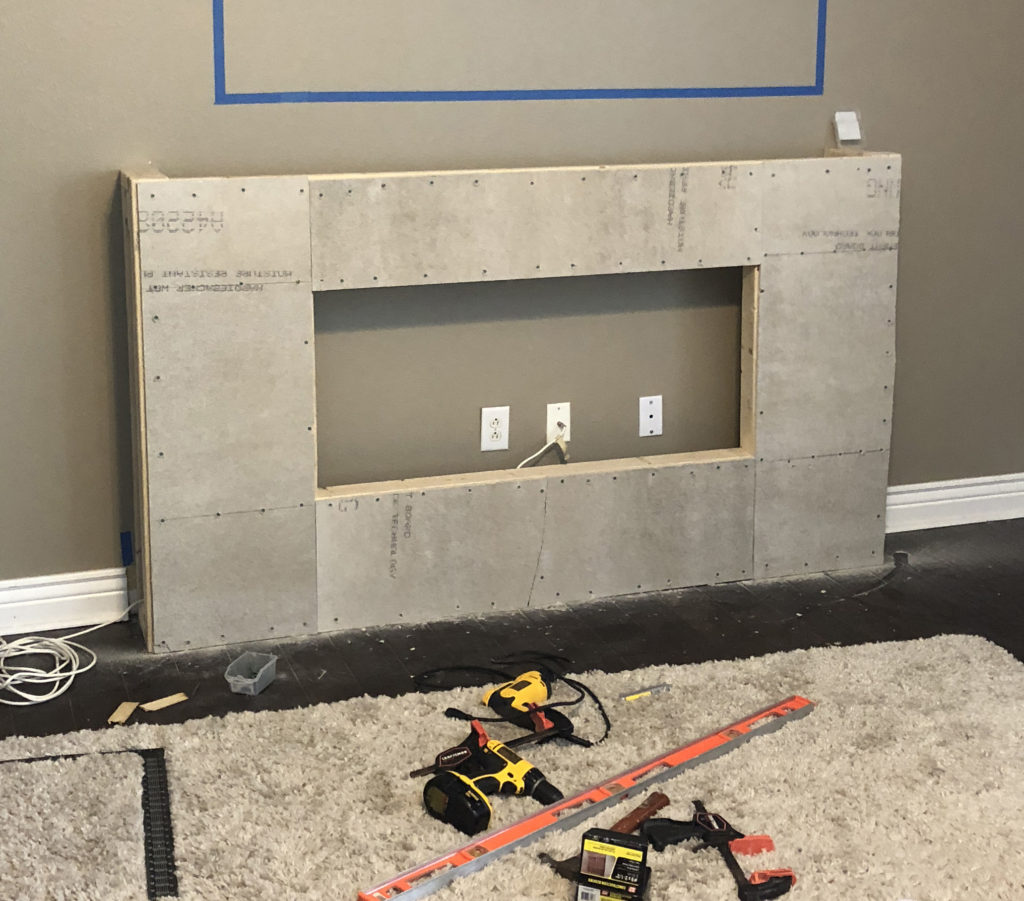
Remember to test the insert again. If the backer board goes too far into the opening it can easily be trimmed with a sharp utility knife.

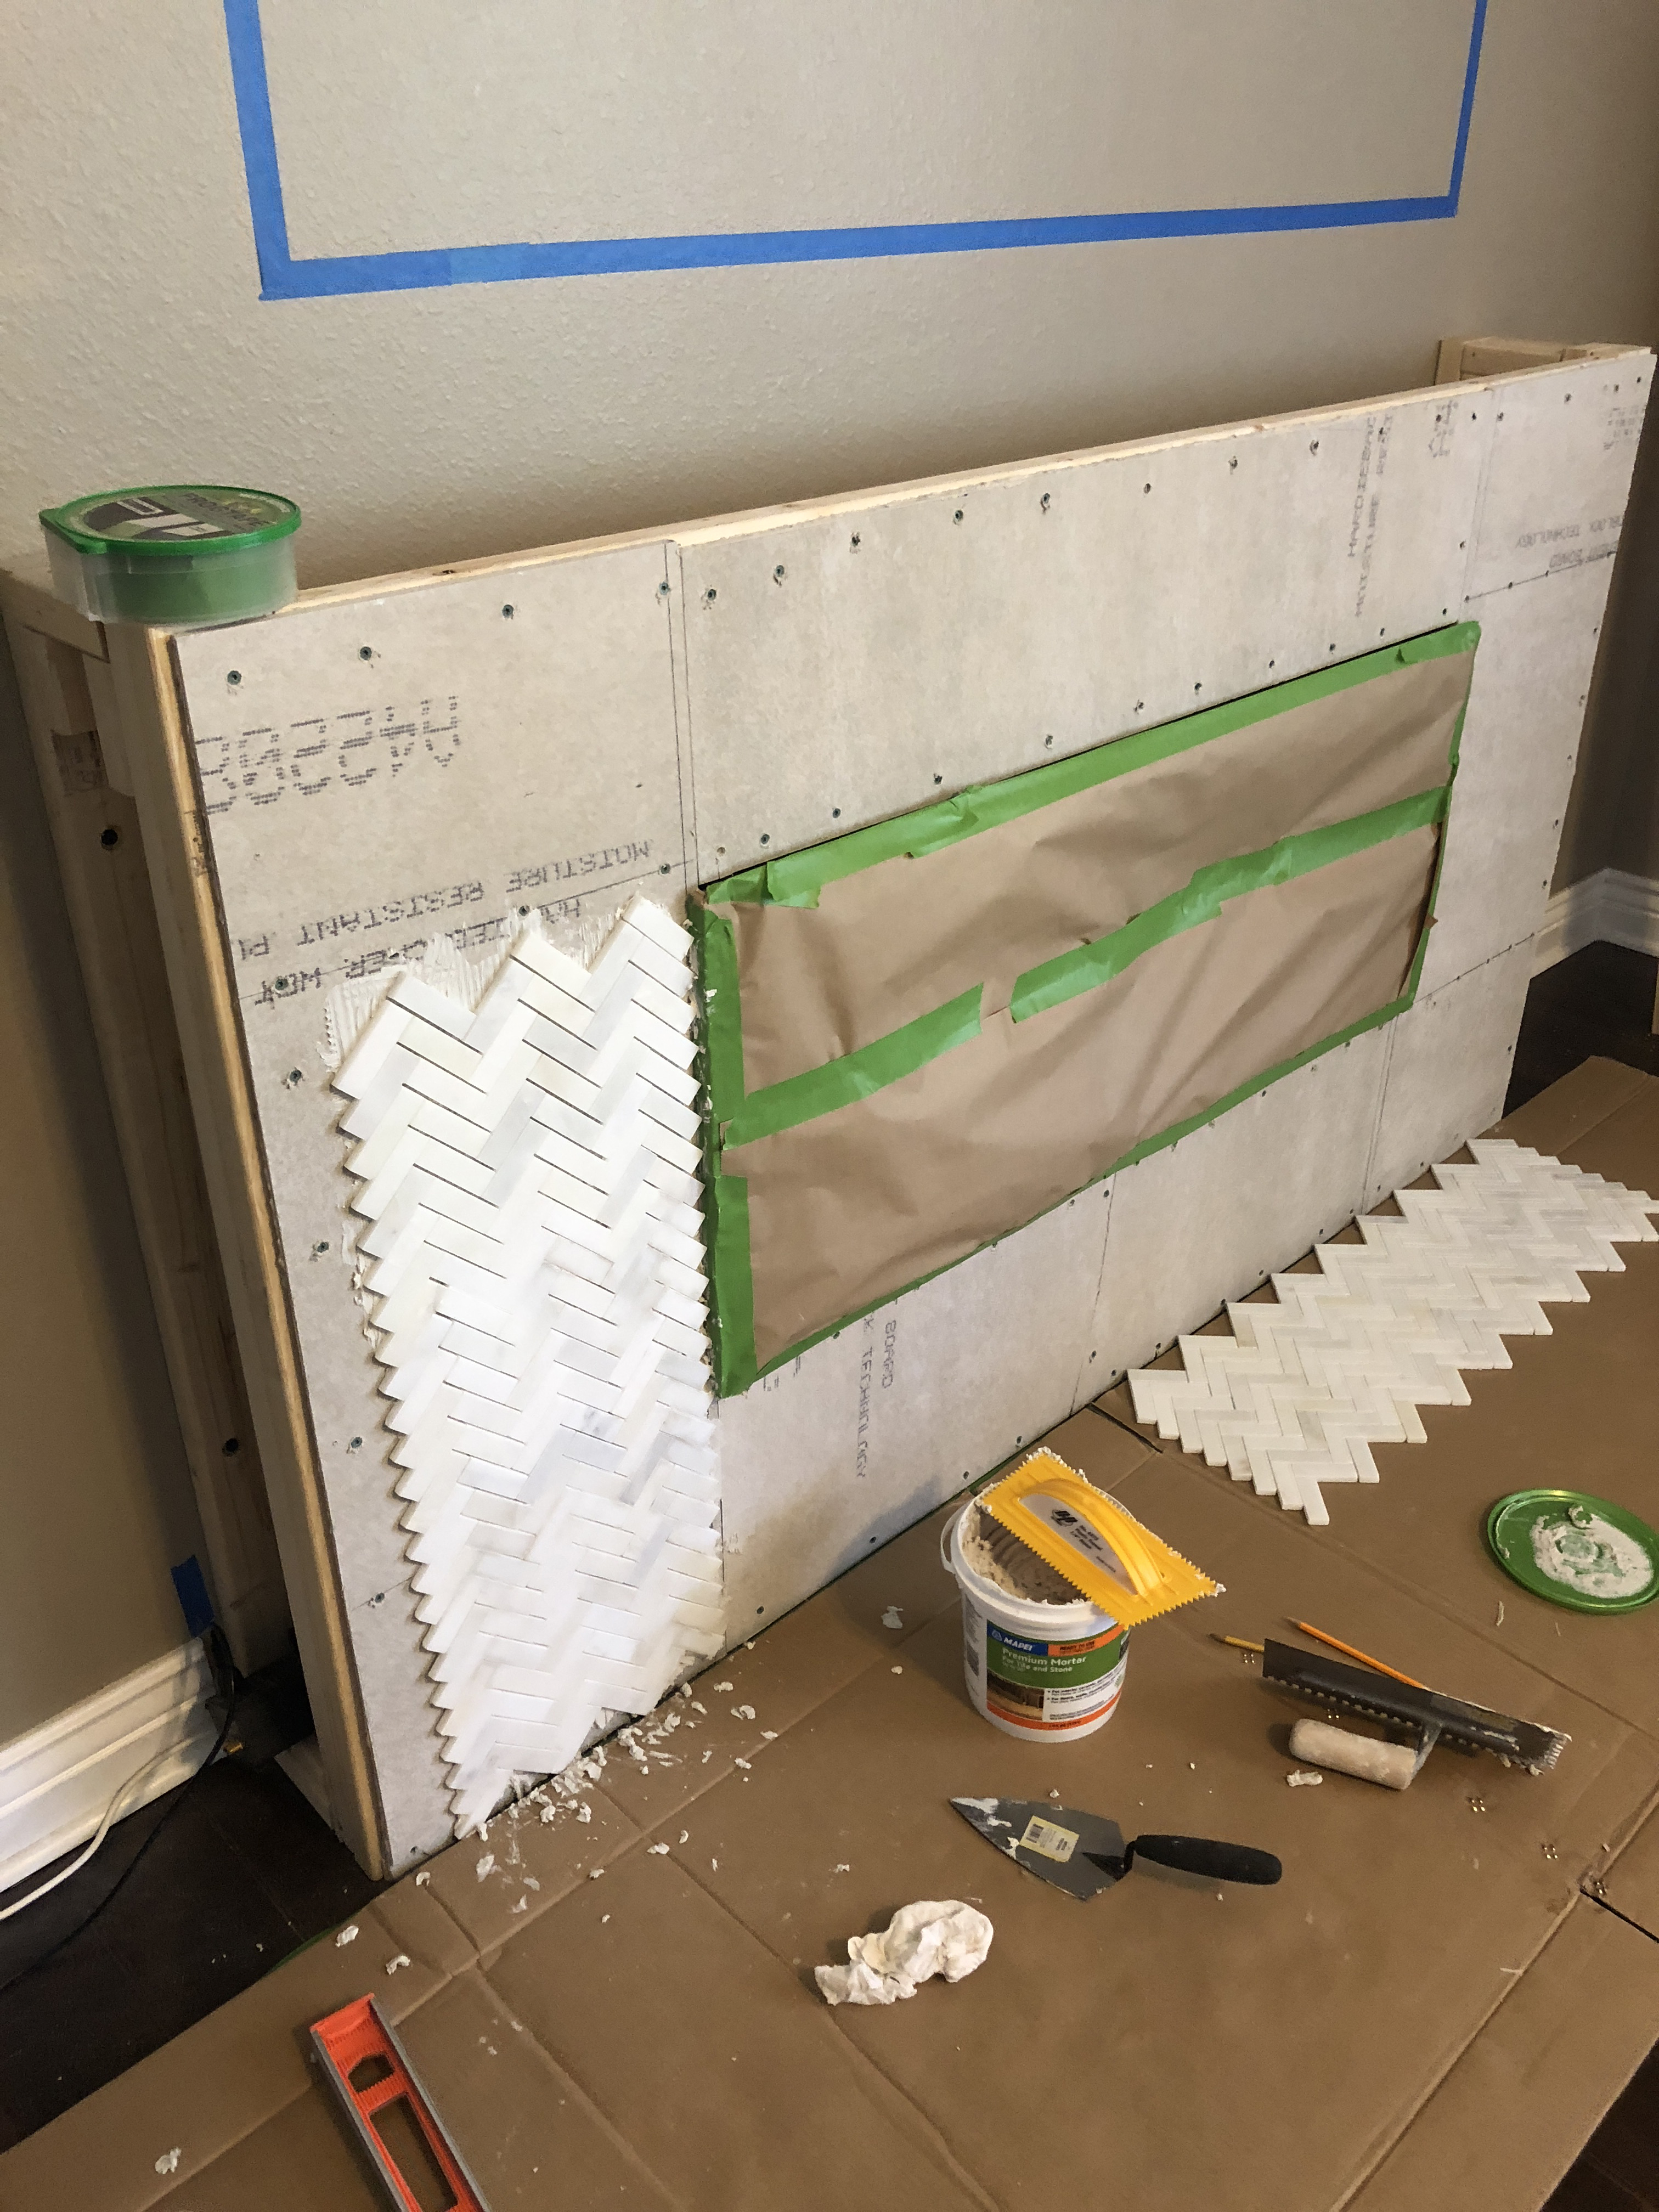
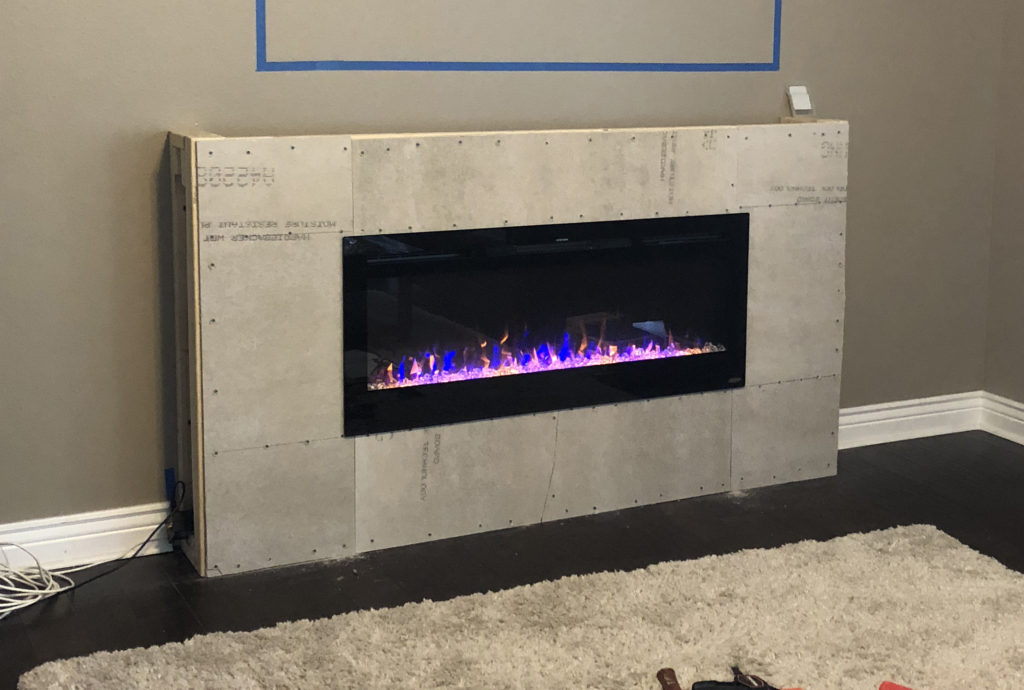
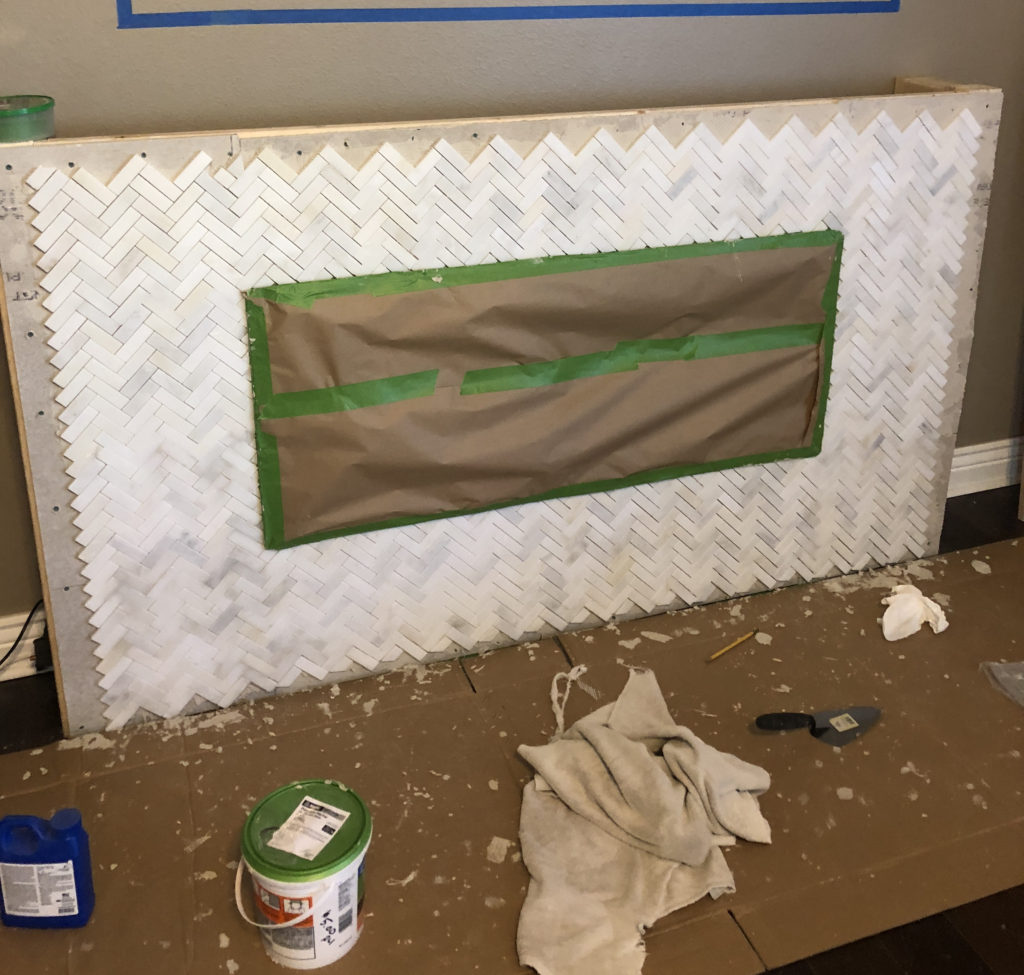
I thoroughly taped and covered the fireplace insert. Although it would have been ok to do the tile without it in I wanted to make sure everything matched up. The fireplace insert has a small lip around the edge so by leaving it a little bit forward I was able to take the tile line behind the front of the insert.
For the surround we made the decision to go with mosaic tile around the insert. Although any of our other tile options would have been a lot easier we decided we just liked the look of the mosaic tile too much not to do it. There were some good solid travertine tiles and even some commercial wood plank look flooring that we considered that would have looked good also. Obviously those would have been much easier because there would have only been 15 or 16 tiles instead of all of the small cuts we had to make. The sheets we chose came in 12″ x 12″ sheets held together by a mesh backing which made the large spaces very easy to put up.
I layed out the mosaic tile 12″ x 12″ sheets and figured out the best way to arrange them around the fireplace insert to minimize cutting.
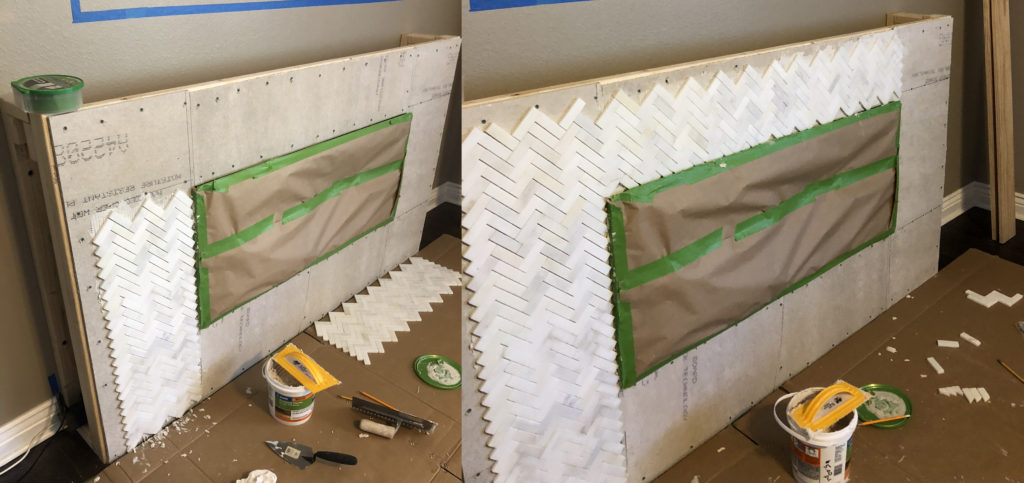
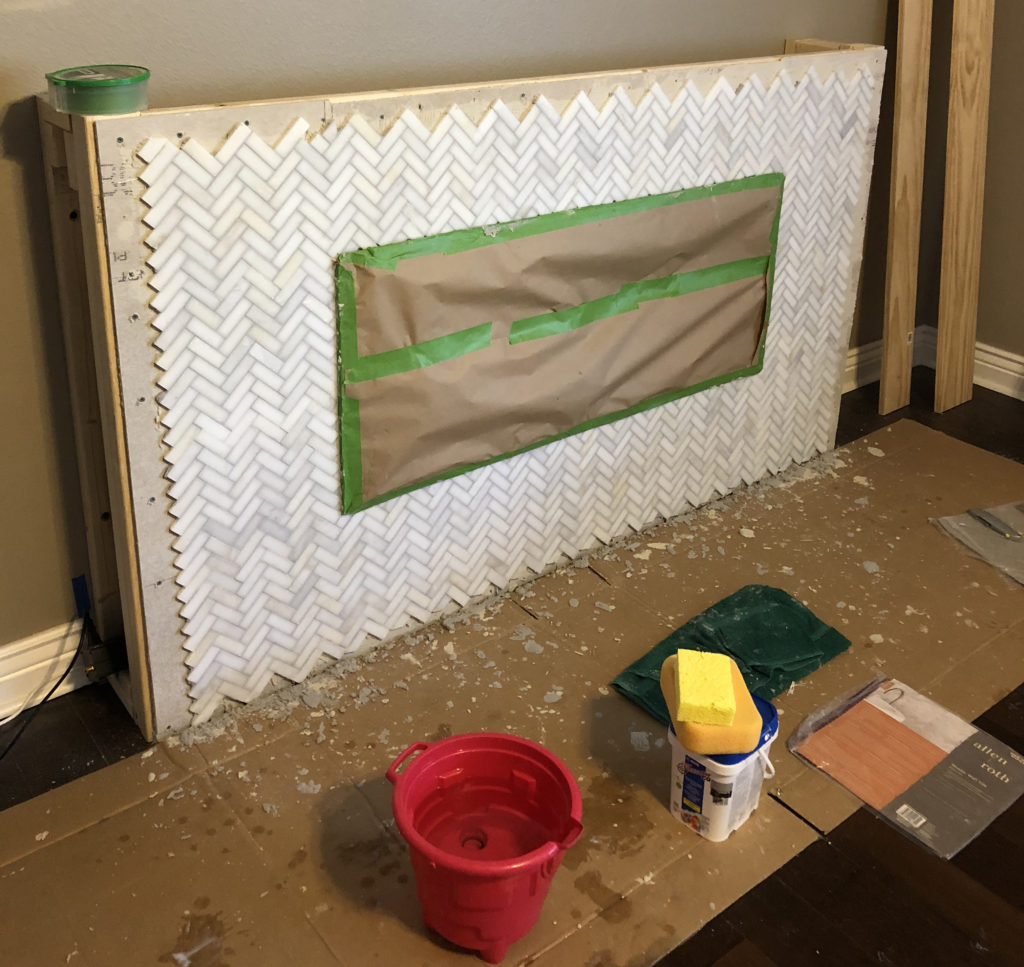
I laid out the mosaic sheets on the floor to figure out the best way and once I felt I had them in the correct place was ready to start. I rented a tile wet saw to make it easy and wanted to get the whole job done in a few hours to avoid needing the saw for extra days so planning ahead really helped. I worked from the bottom corner around the insert and back around so that the final sheets would match up. I used the wet saw to trim off many of the little corners of each sheet that met with the fireplace insert to get the sheets as flush as possible. I was able to leave space around the outsides of the mantle because I knew I would be putting up trim pieces to cover over outside edge of the tile.
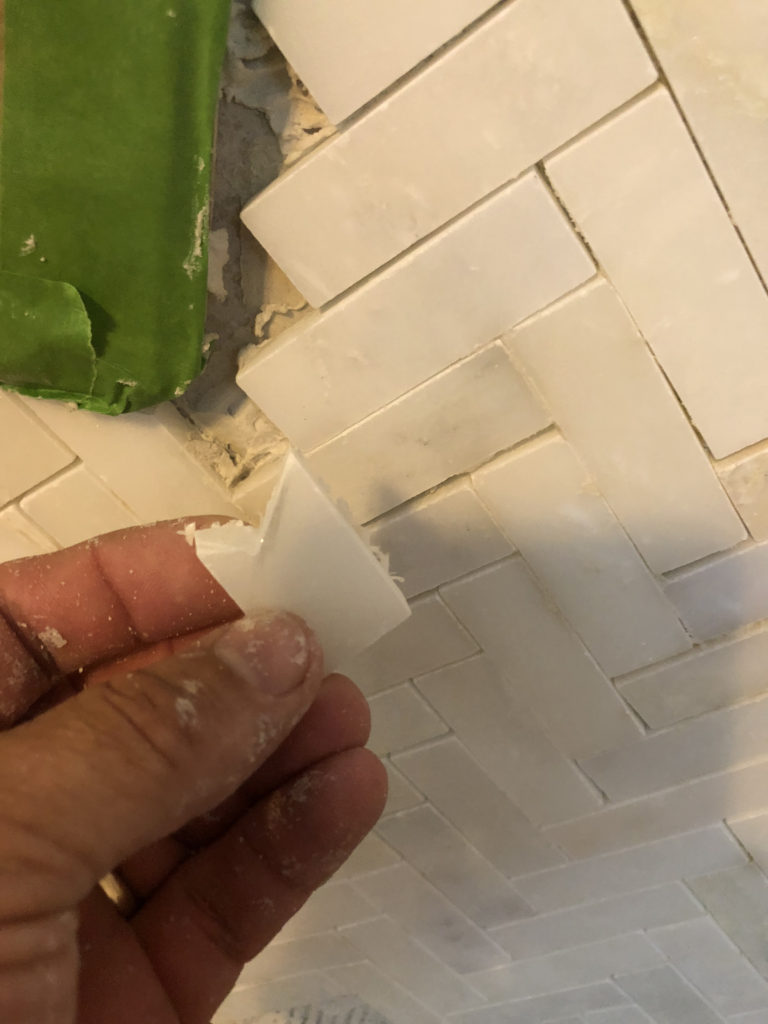
Once all of the full size sheets were up I started making the smaller cuts in each individual piece I cut from the mesh sheet. I held it up, marked it with a sharpie and then cut it on the wet saw. This actually turned out to be a lot easier than I thought it was going to be. The saw cut through the tiles like butter and the fit pretty neatly into the gaps. Because the fireplace insert has a lip that covers up the very edge of the tile I didn’t have to be 100% precise. Around the outsides I knew there would be trim pieces so I just made sure there was enough tile to fill in any of the “v” gaps.
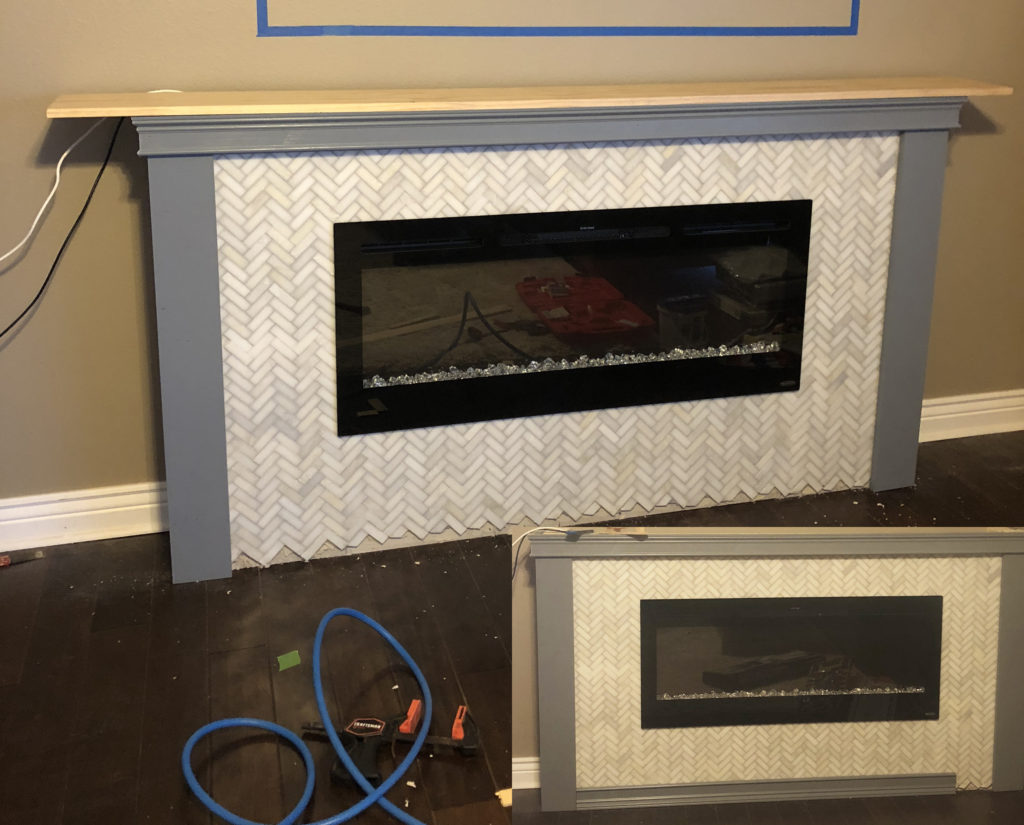
Here you can the finished tiling job before grouting. The gaps around the edges and floor will be covered with wood trim pieces and all the tile next to the fireplace insert goes behind the lip where needed so that when I grout it will look like one continuous mosaic tile surround.
I followed the directions and let the mastic I used to put the tiles up dry for 24 hours and then grouted and cleaned the tile the next day.
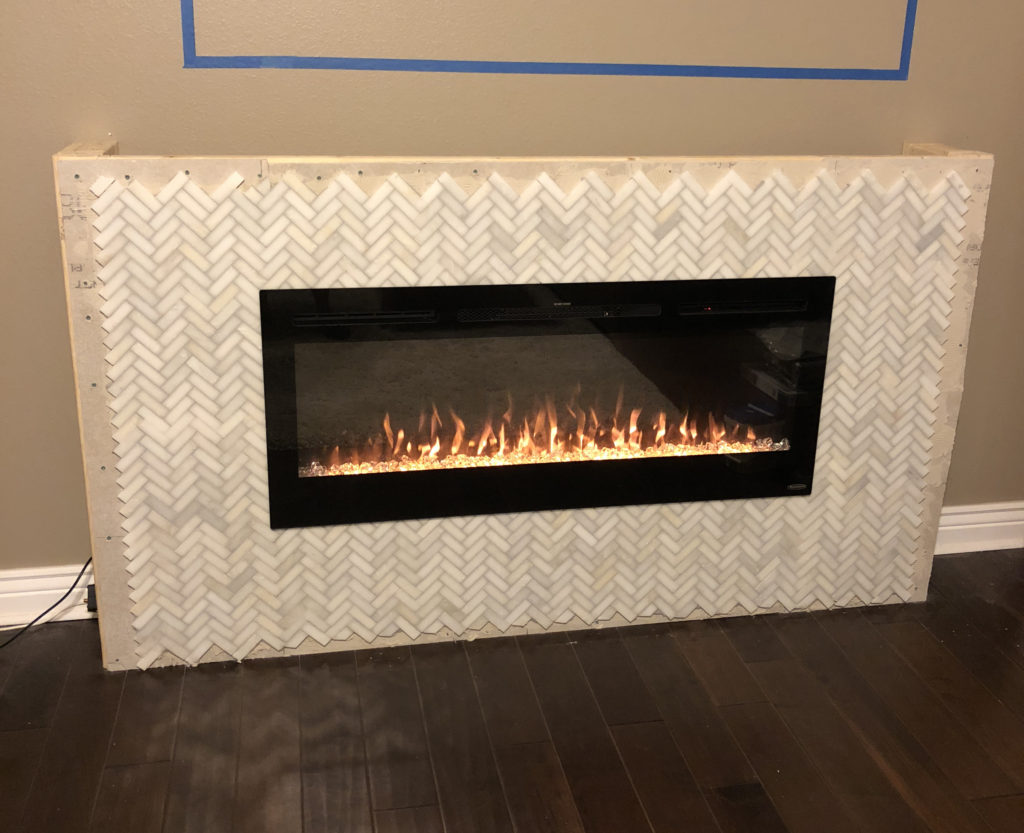
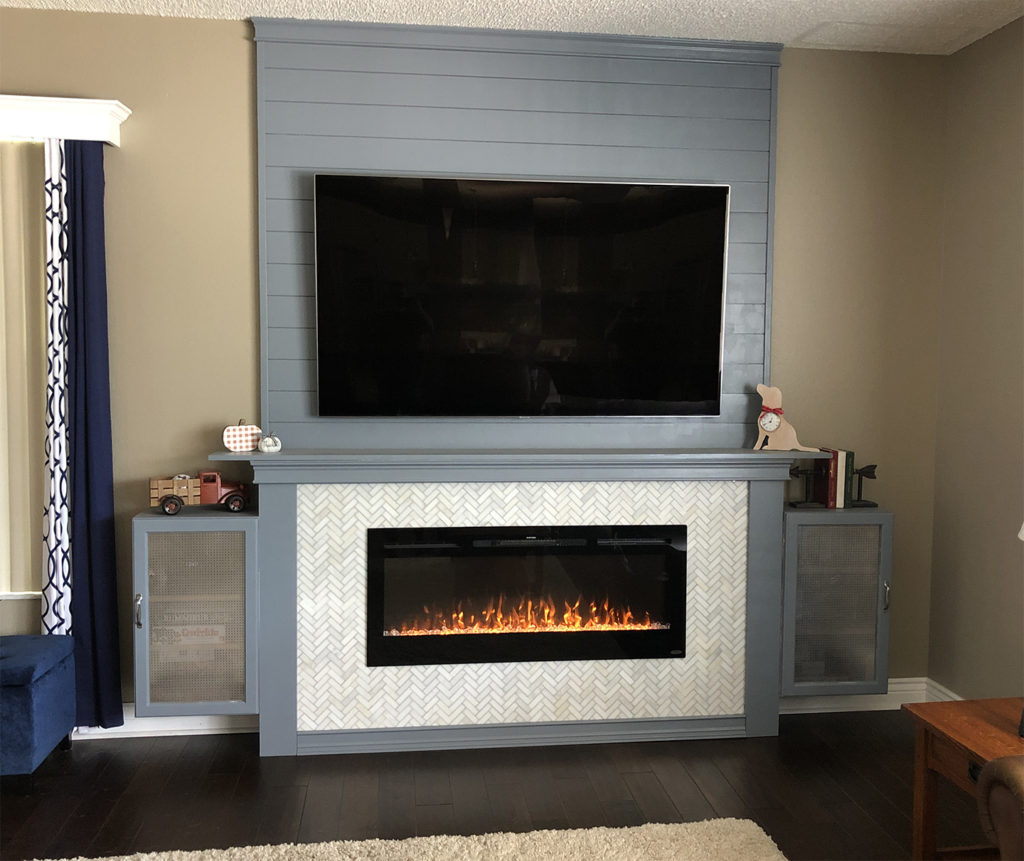
Here is the finished tile job with the electric fireplace insert on.
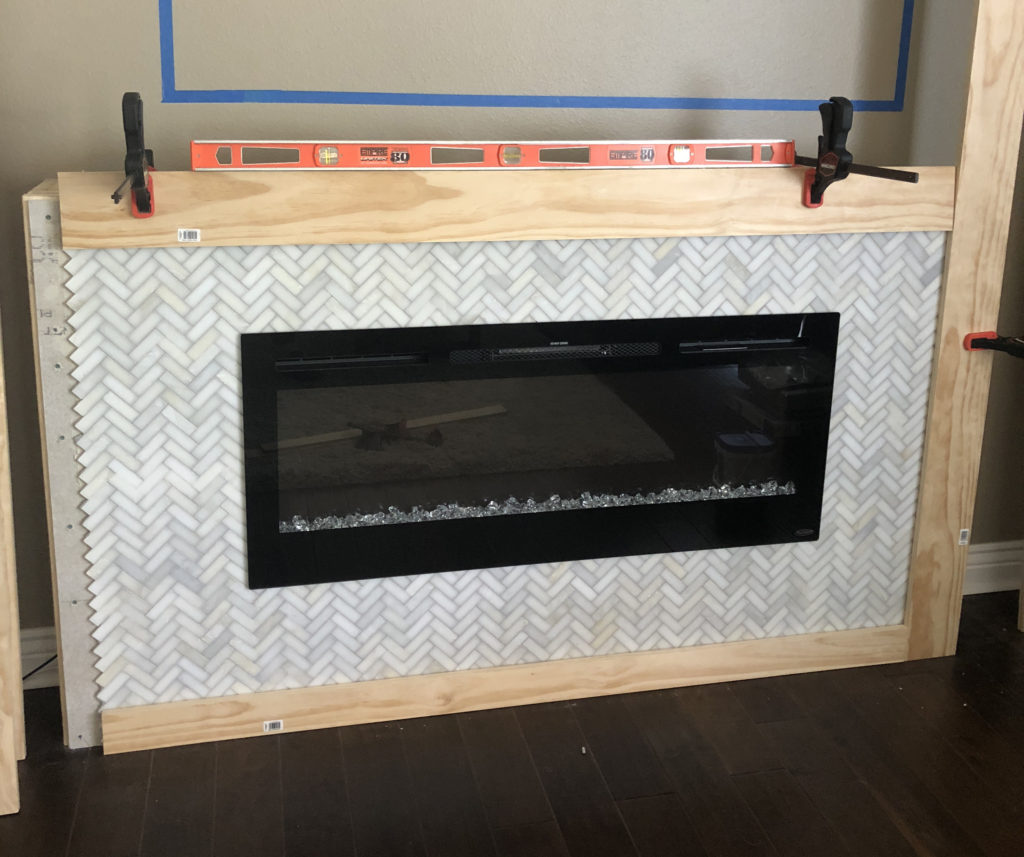
The final step was to cover the sides and put the trim on. I used clear pine trim which we primed and then painted. For the sides we used solid pieces and then lined up and cut the pieces for the front. Because everything was a straight cut it was all easily done on a miter saw.